- Do a postmortem of the previous iteration
- Adjust process rigor if necessary
- Start the next iteration
- Update the DG with design details
- Do a trial JAR release
1 Do a postmortem of the previous iteration
- Discuss with the team how the iteration went (i.e., what worked well, what didn't), and your plans to improve the process (not the product) in the next iteration.
- Keep notes about the discussion in your project notes document so that the tutor can check them.
2 Adjust process rigor if necessary
- Adjust process rigor, as explained in the panel below:
Admin Appendix E(extract): Workflow (after v1.2)
After following the given workflow for at least i.e., until the end of v1.2one iteration, optionally, you may adjust the process rigor to suit your team's pace. Here are some examples:
-
Switch to a lighter workflow:
- While forking workflow is the safest (and is recommended), it is also rather heavy. You may switch to a simpler workflow if the forking workflow if you wish. Refer the textbook to find more about alternative workflows:
- The feature branches workflow: a reasonable alternative, but if you choose this, make sure your master branch is protected and most members have write access only (i.e., no admin access)
- The centralized workflow: discouraged.
- Even if you do switch, we still recommend that you use PR reviews, at least for PRs affecting others' features.
- While forking workflow is the safest (and is recommended), it is also rather heavy. You may switch to a simpler workflow if the forking workflow if you wish. Refer the textbook to find more about alternative workflows:
-
Reduce automated tests: Automated tests have benefits, but they can be a pain to write/maintain.
It is OK to get rid of some of the troublesome tests and rely more on manual testing instead. The less automated tests you have, the higher the risk of regressions; but it may be an acceptable trade-off under the circumstances if tests are slowing you down too much.
There is no direct penalty for removing tests. Also noteour expectation on test code . -
Reduce automated checks: You can also reduce the rigor of checkstyle checks to expedite PR processing.
-
If you are unsure if a certain adjustment is allowed, you can check with the teaching team first.
- Expectation Write some automated tests so that we can evaluate your ability to write tests.
🤔 How much testings is enough? We expect you to decide. You learned different types of testing and what they try to achieve. Based on that, you should decide how much of each type is required. Similarly, you can decide to what extent you want to automate tests, depending on the benefits and the effort required.
There is no requirement for a minimum coverage level. Note that in a production environment you are often required to have at least 90% of the code covered by tests. In this project, it can be less. The weaker your tests are, the higher the risk of bugs, which will cost marks if not fixed before the final submission.
3 Start the next iteration
This iteration is your last chance to add features. You are strongly discouraged from adding new features in the following iteration (i.e., v1.4). That iteration (which is shorter than usual) is best reserved for bug fixing and documentation work only.
The version you deliver in this iteration (i.e., v1.3) will be subjected a peer testing (aka PE Dry Run) and you will be informed of the bugs they find (no penalty for those bugs).
As you did in the previous iteration,
- Plan the next iteration (steps are given below as a reminder):
- Decide which enhancements will be added to the product in this iteration, assuming this is the last iteration.
- If possible, split that into two incremental versions
v1.3andv1.3b. - Divide the work among team members.
- Reflect the above plan in the issue tracker.
- Start implementing the features as per the plan made above.
- Track the progress using GitHub issue tracker, milestones, labels, etc.
In addition,
- Maintain the defensiveness of the code: Remember to use assertions, exceptions, and logging in your code, as well as other defensive programming measures when appropriate.
Remember to enable assertions in your IDEA run configurations and in the gradle file. - Recommend: Each PR should also update the relevant parts of documentation and tests. That way, your documentation/testing work will not pile up towards the end.
Improve upon AB3, design, code, test etc. While not very 'buggy', AB3 is not 'perfect' either (it is not meant to be a 'model solution'). Feel free to improve it in any way you see fit. In particular, find and fix any bugs it has. If you are not sure if something is a bug or an intended behavior, you can post in the forum to check.
While we are on the topic, also note that the architecture of AB3 doesn't suite every kind of application either. As you gain more experience in other application domains, you will learn different types of architectures that you can add to the collection of different architectures that you can consider for future projects. The same goes for the tool chain and the tech stack of AB3. Therefore, do not be tempted to apply AB3 as a template for every other application you come across in the future.
4 Update the DG with design details
Why the hurry to update documents? Why not wait till the implementation is finalized?
Here are some reasons:
- We want you to take at least two passes at documenting the project so that you can learn how to evolve the documentation along with the code (which requires additional considerations, when compared to documenting the project only once).
- It is better to get used to the documentation tool chain early, to avoid unexpected problems near the final submission deadline.
- It allows receiving early self/peer/instructor feedback.
- Update the Developer Guide as follows:
- Each member should describe the implementation of at least one enhancement she has added (or planning to add).
Expected length: 1+ page per person - The description can contain things such as,
- How the feature is implemented (or is going to be implemented).
- Why it is implemented that way.
- Alternatives considered.
- Each member should describe the implementation of at least one enhancement she has added (or planning to add).
Admin tP Deliverables → DG → Tips
- Aim to showcase your documentation skills. The stated objective of the DG is to explain the implementation to a future developer, but a secondary objective is to serve as evidence of your ability to document deeply-technical content using prose, examples, diagrams, code snippets, etc. appropriately. To that end, you may also describe features that you plan to implement in the future, even beyond v1.4 (hypothetically).
For an example, see the description of the undo/redo feature implementation in the AddressBook-Level3 developer guide. - Use multiple UML diagram types. Following from the point above, try to include UML diagrams of multiple types to showcase your ability to use different UML diagrams.
- Diagramming tools:
- AB3 uses PlantUML (see the guide Using PlantUML @SE-EDU/guides for more info).
- You may use any other tool too (e.g., PowerPoint). But if you do, note the following:
- Choose a diagramming tool that has some 'source' format that can be version-controlled using git and updated incrementally (reason: because diagrams need to evolve with the code that is already being version controlled using git). For example, if you use PowerPoint to draw diagrams, also commit the source PowerPoint files so that they can be reused when updating diagrams later.
- Use the same diagramming tool for the whole project, except in cases for which there is a strong need to use a different tool due to a shortcoming in the primary diagramming tool. Do not use a mix of different tools simply based on personal preferences.
- Can i.e., automatically reverse engineered from the Java codeIDE-generated UML diagrams be used in project submissions? Not a good idea. Given below are three reasons each of which can be reported by evaluators as 'bugs' in your diagrams, costing you marks:
- They often don't follow the standard UML notation (e.g., they add extra icons).
- They tend to include every little detail whereas we want to limit UML diagrams to important details only, to improve readability.
- Diagrams reverse-engineered by an IDE might not represent the actual design as some design concepts cannot be deterministically identified from the code. e.g., differentiating between multiplicities
0..1vs1, composition vs aggregation
- AB3 uses PlantUML (see the guide Using PlantUML @SE-EDU/guides for more info).
- Keep diagrams simple. The aim is to make diagrams comprehensible, not necessarily comprehensive.
Ways to simplify diagrams:- Omit less important details. Examples:
- a class diagram can omit minor utility classes, private/unimportant members; some less-important associations can be shown as attributes instead.
- a sequence diagram can omit less important interactions, self-calls.
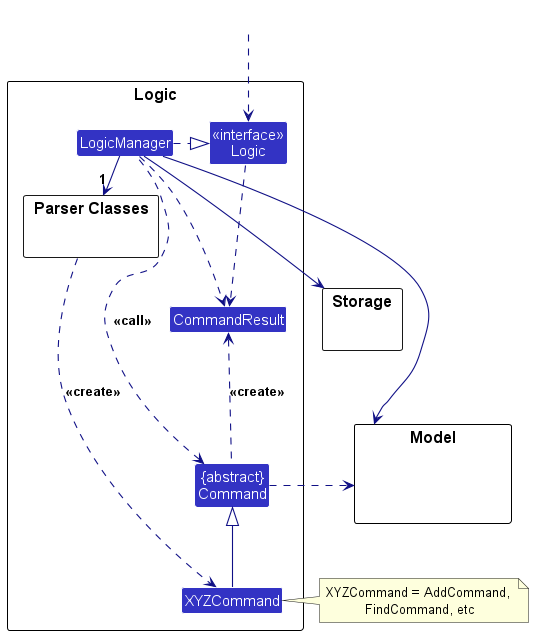
- Omit repetitive details e.g., a class diagram can show only a few representative ones in place of many similar classes (note how the
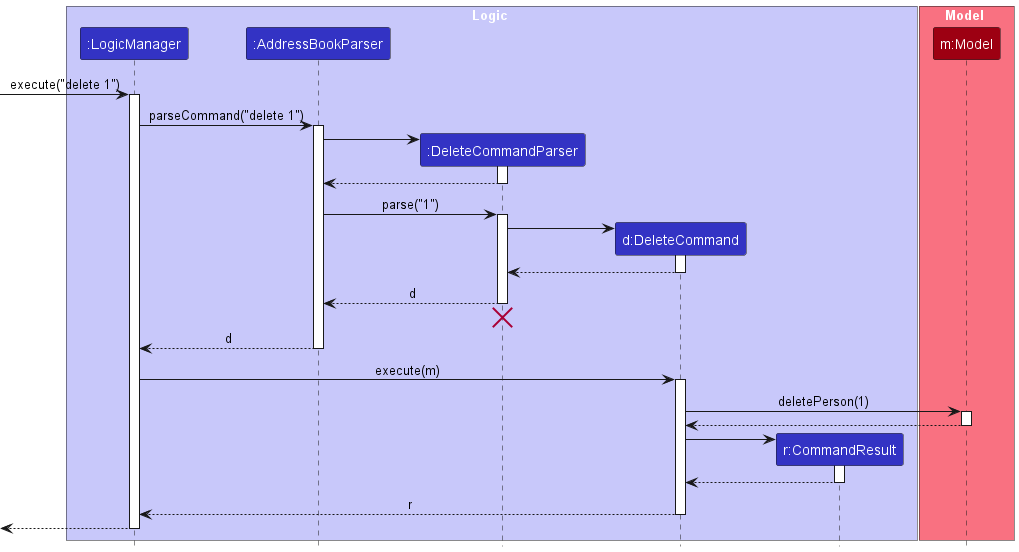
AB3 Logic class diagram shows concrete*Commandclasses using a placeholderXYZCommand). - Limit the scope of a diagram. Decide the purpose of the diagram (i.e., what does it help to explain?) and omit details not related to it. In particular, avoid showing lower-level details of multiple components in the same diagram unless strictly necessary e.g., note how the
this sequence diagram shows only the detailed interactions within the Logic component i.e., does not show detailed interactions within the model component. - Break diagrams into smaller fragments when possible.
- If a component has a lot of classes, consider further dividing into sub-components (e.g., a Parser sub-component inside the Logic component). After that, sub-components can be shown as black-boxes in the main diagram and their details can be shown as separate diagrams.
- You can use
refframes to break sequence diagrams to multiple diagrams.
- Use visual representations as much as possible. E.g., show associations and navigabilities using lines and arrows connecting classes, rather than adding a variable in one of the classes.
- For some more examples of what NOT to do, see
here .
- Omit less important details. Examples:
- Integrate diagrams into the description. Place the diagram close to where it is being described.
- Use code snippets sparingly. The more you use code snippets in the DG, and longer the code snippet, the higher the risk of it getting outdated quickly. Instead, use code snippets only when necessary and cite only the strictly relevant parts only. You can also use pseudo code instead of actual programming code.
- Resize diagrams so that the text size in the diagram matches the the text size of the main text of the diagram. See
example .
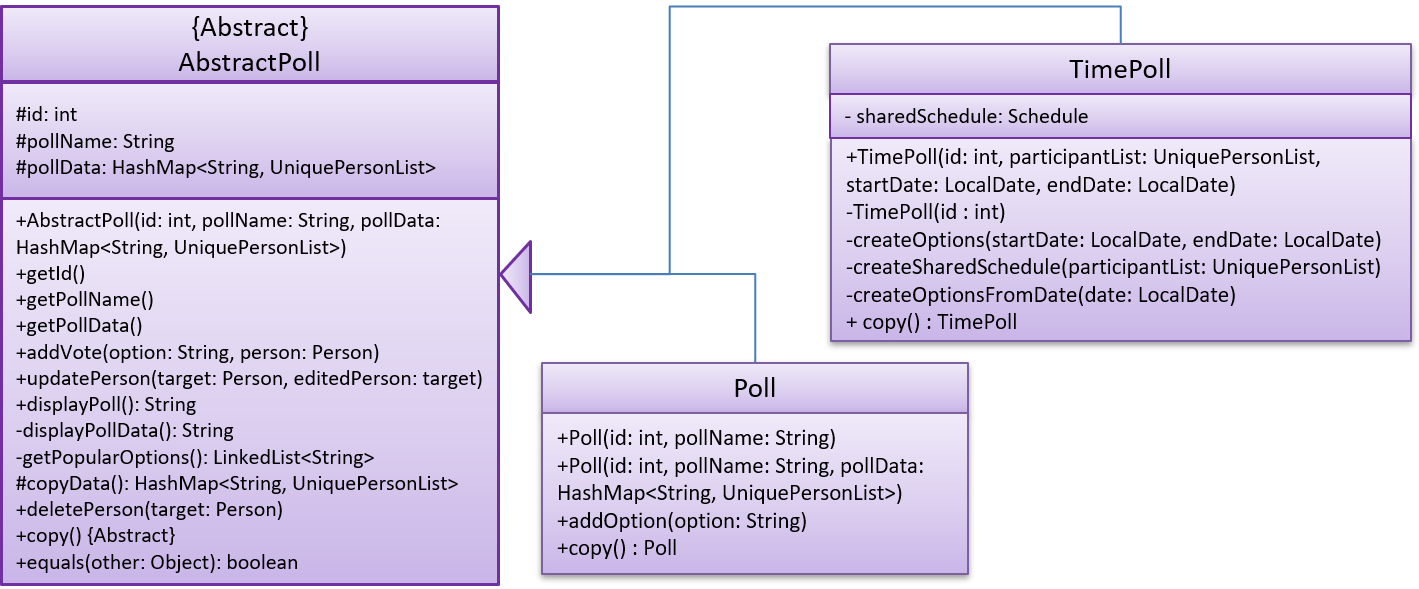
These class diagrams seem to have lot of member details, which can get outdated pretty quickly:
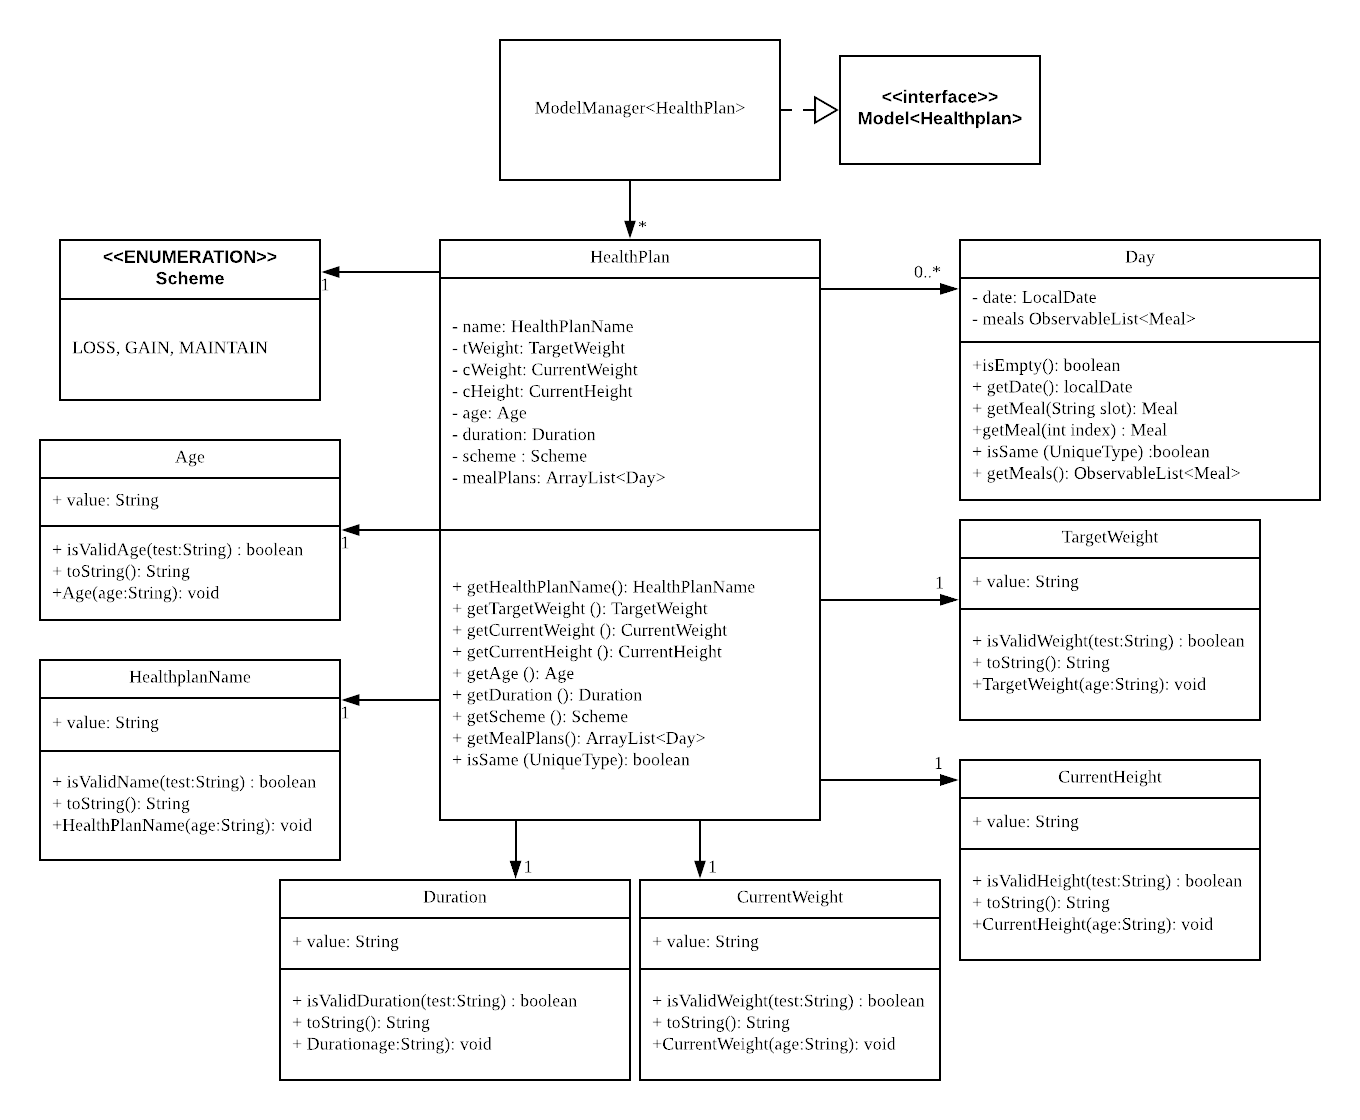
This class diagram seems to have too many classes:

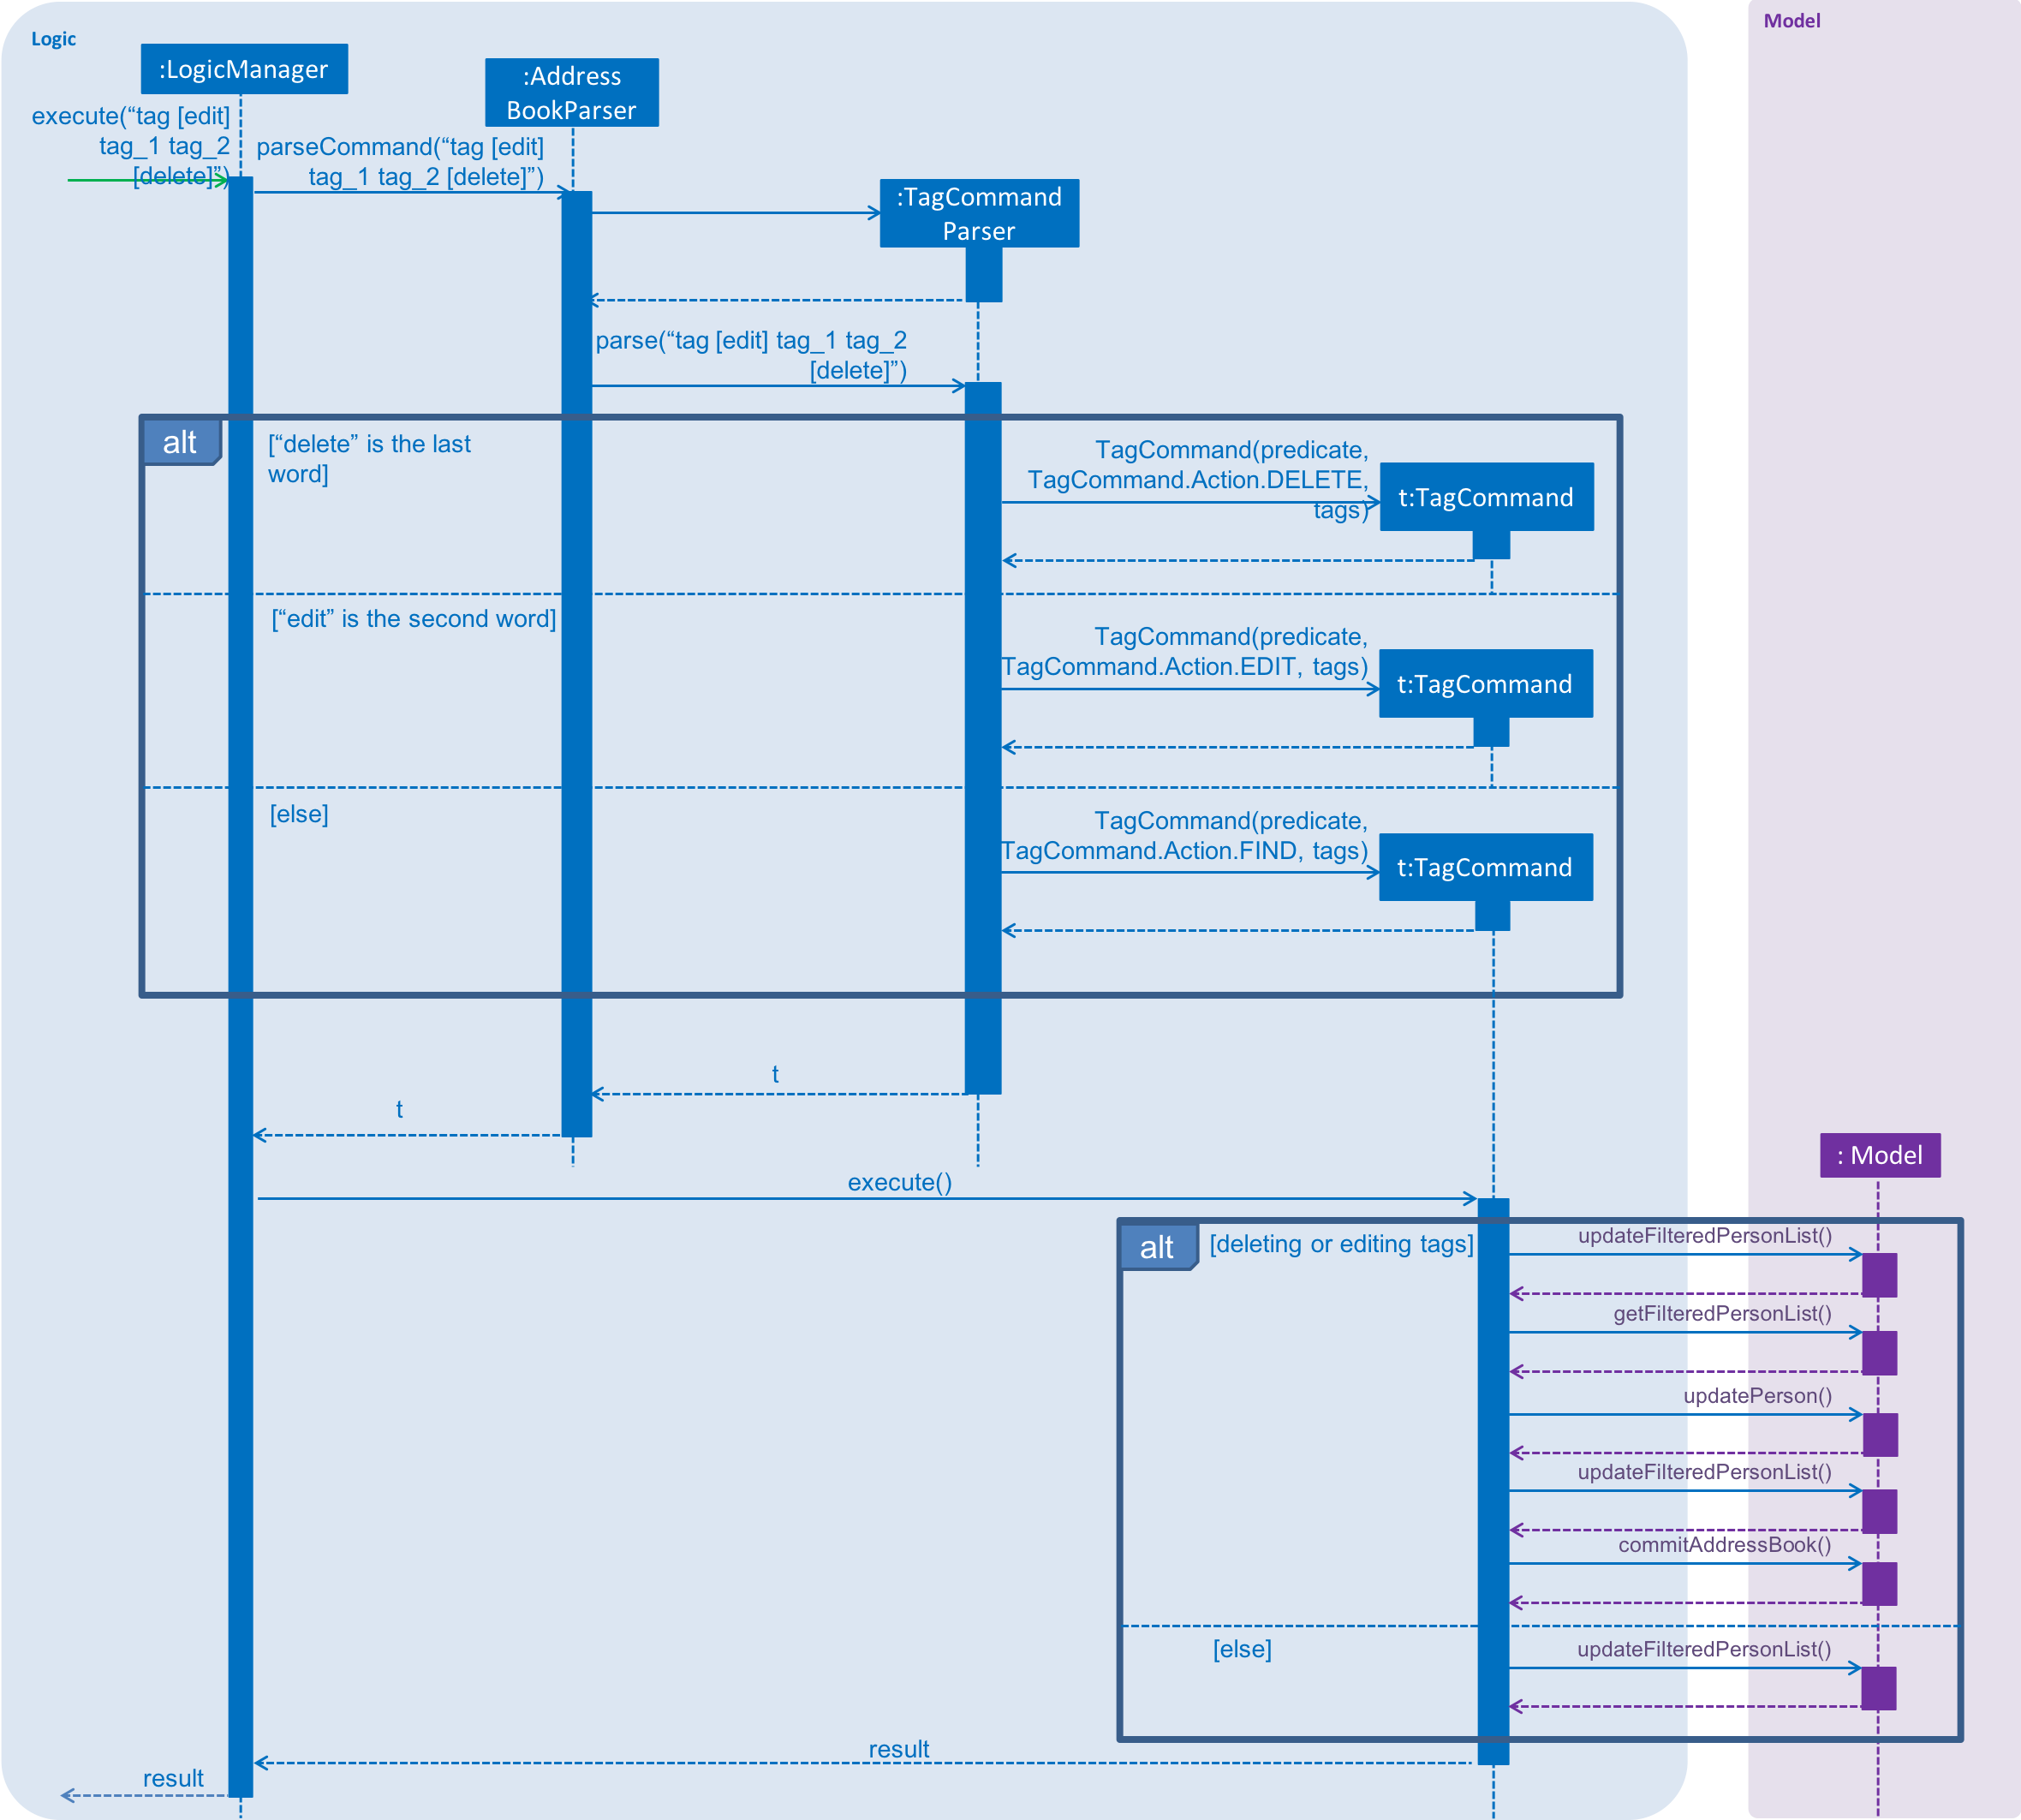
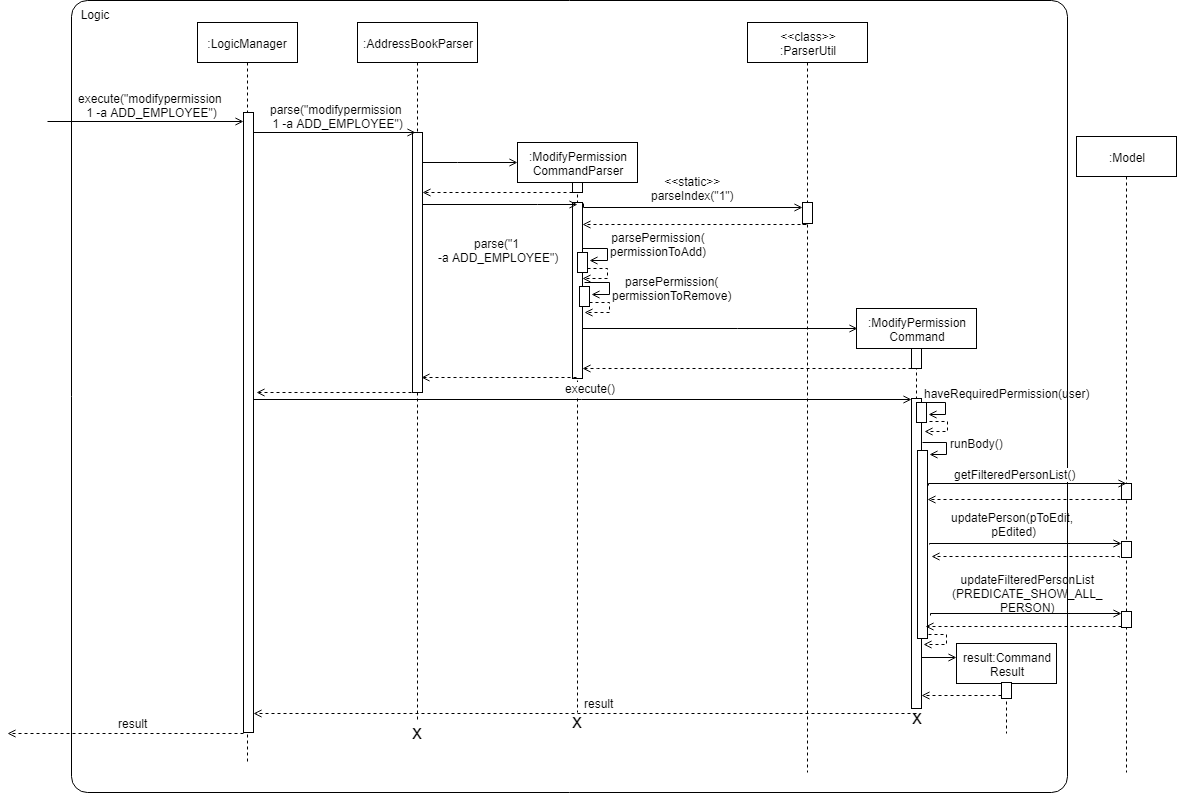
These sequence diagrams are bordering on 'too complicated':
In this negative example, the text size in the diagram is much bigger than the text size used by the document:
It will look more 'polished' if the two text sizes match.
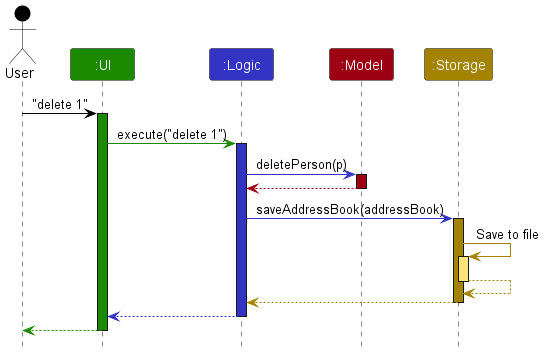
delete command
5 Do a trial JAR release
- Do a resulting in a jar file on GitHub that can be downloaded by potential usersproduct release as described in the Developer Guide. You can name it something like
v1.2.1(orv1.3.trial). Ensure that the jar file works as expected in an empty folder and using Java 11, by doing some manual testing. Reason: You are required to do a proper product release for v1.3. Doing a trial at this point will help you iron out any problems in advance. It may take additional effort to get the jar working especially if you use third party libraries or additional assets such as images.