- Update the website
- Submit the final version Sun, Feb 21st 2359
1 Update the website
- Update the product website in the following ways:
- Move the User Guide to a separate page (filename:
docs/UserGuide.md) and update it to match the current version of the product. - Add a Developer Guide (filename:
docs/DeveloperGuide.md), similar to (but can be shorter) what you did for the tP in TIC4001.- Recommended length 1.5-2.5 pages
- Include some class/object/sequence diagrams, user stories, and some non-functional requirements
- Optional to include an architecture diagram
- Update the README page to make it a landing page for your iP website (similar to the TIC4001 tP website).
- Move the User Guide to a separate page (filename:
- Add a representative screenshot of the product to the
docsfolder.- The file name should be in the
docsfolder and namedUi.pngexactly (even if the file format is notpng, name itpng) - Ideally, the product name is visible in the screenshot e.g., in the title bar of the Window
- The file name should be in the
Admin Team Project (tP) → Tips for Product Screenshots
Some common sense tips for a good product screenshot
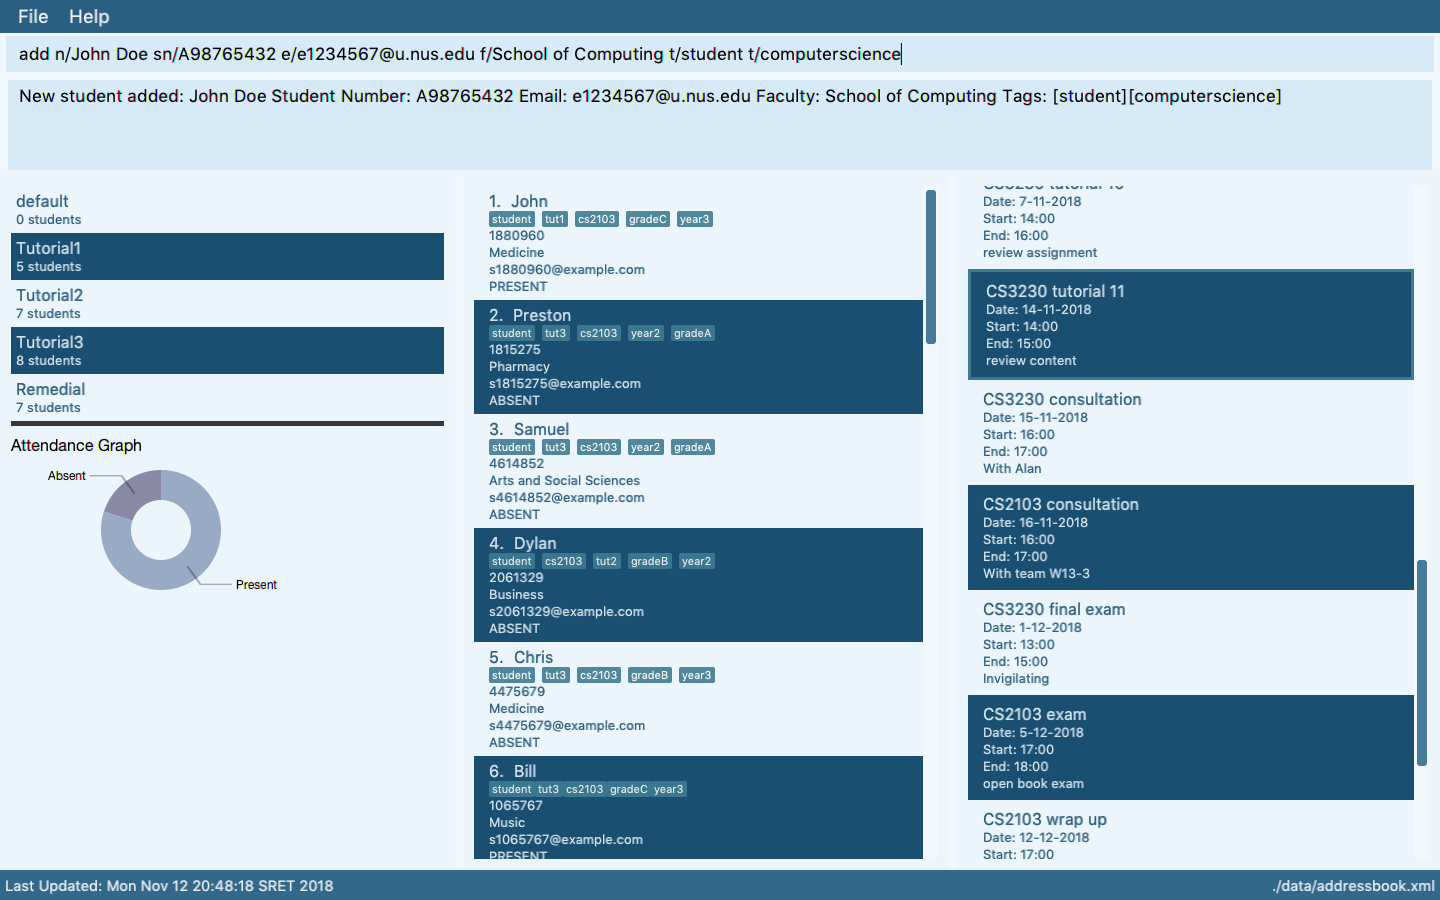
Ui.png represents your product in its full glory.
- Before taking the screenshot, populate the product with data that makes the product look good. For example, if the product is supposed to show profile photos, use real profile photos instead of dummy placeholders.
- If the product doesn't have nice line wrapping for long inputs/outputs, don't use such inputs/outputs for the screenshot.
- It should show a state in which the product is well-populated i.e., don't leave data panels largely blank.
- Choose a state that showcases the main features of the product i.e., the login screen is not usually a good choice.
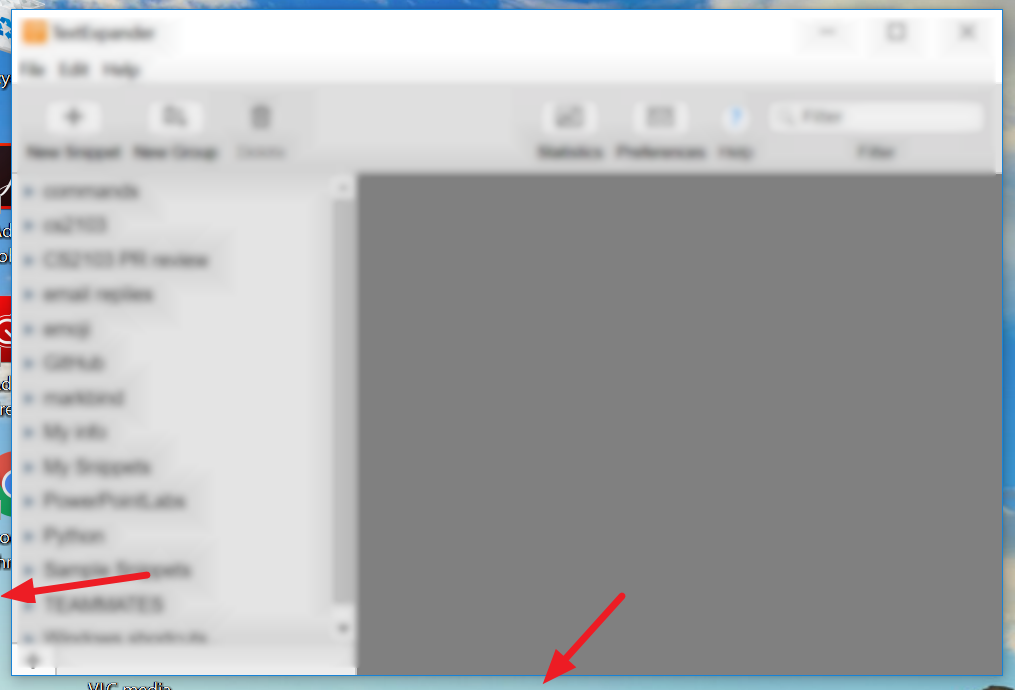
- Take a clean screenshot with a decent resolution. Some screenshot tools can capture a specified window only. If your tool cannot do that, make sure you crop away the extraneous parts captured by the screenshot.
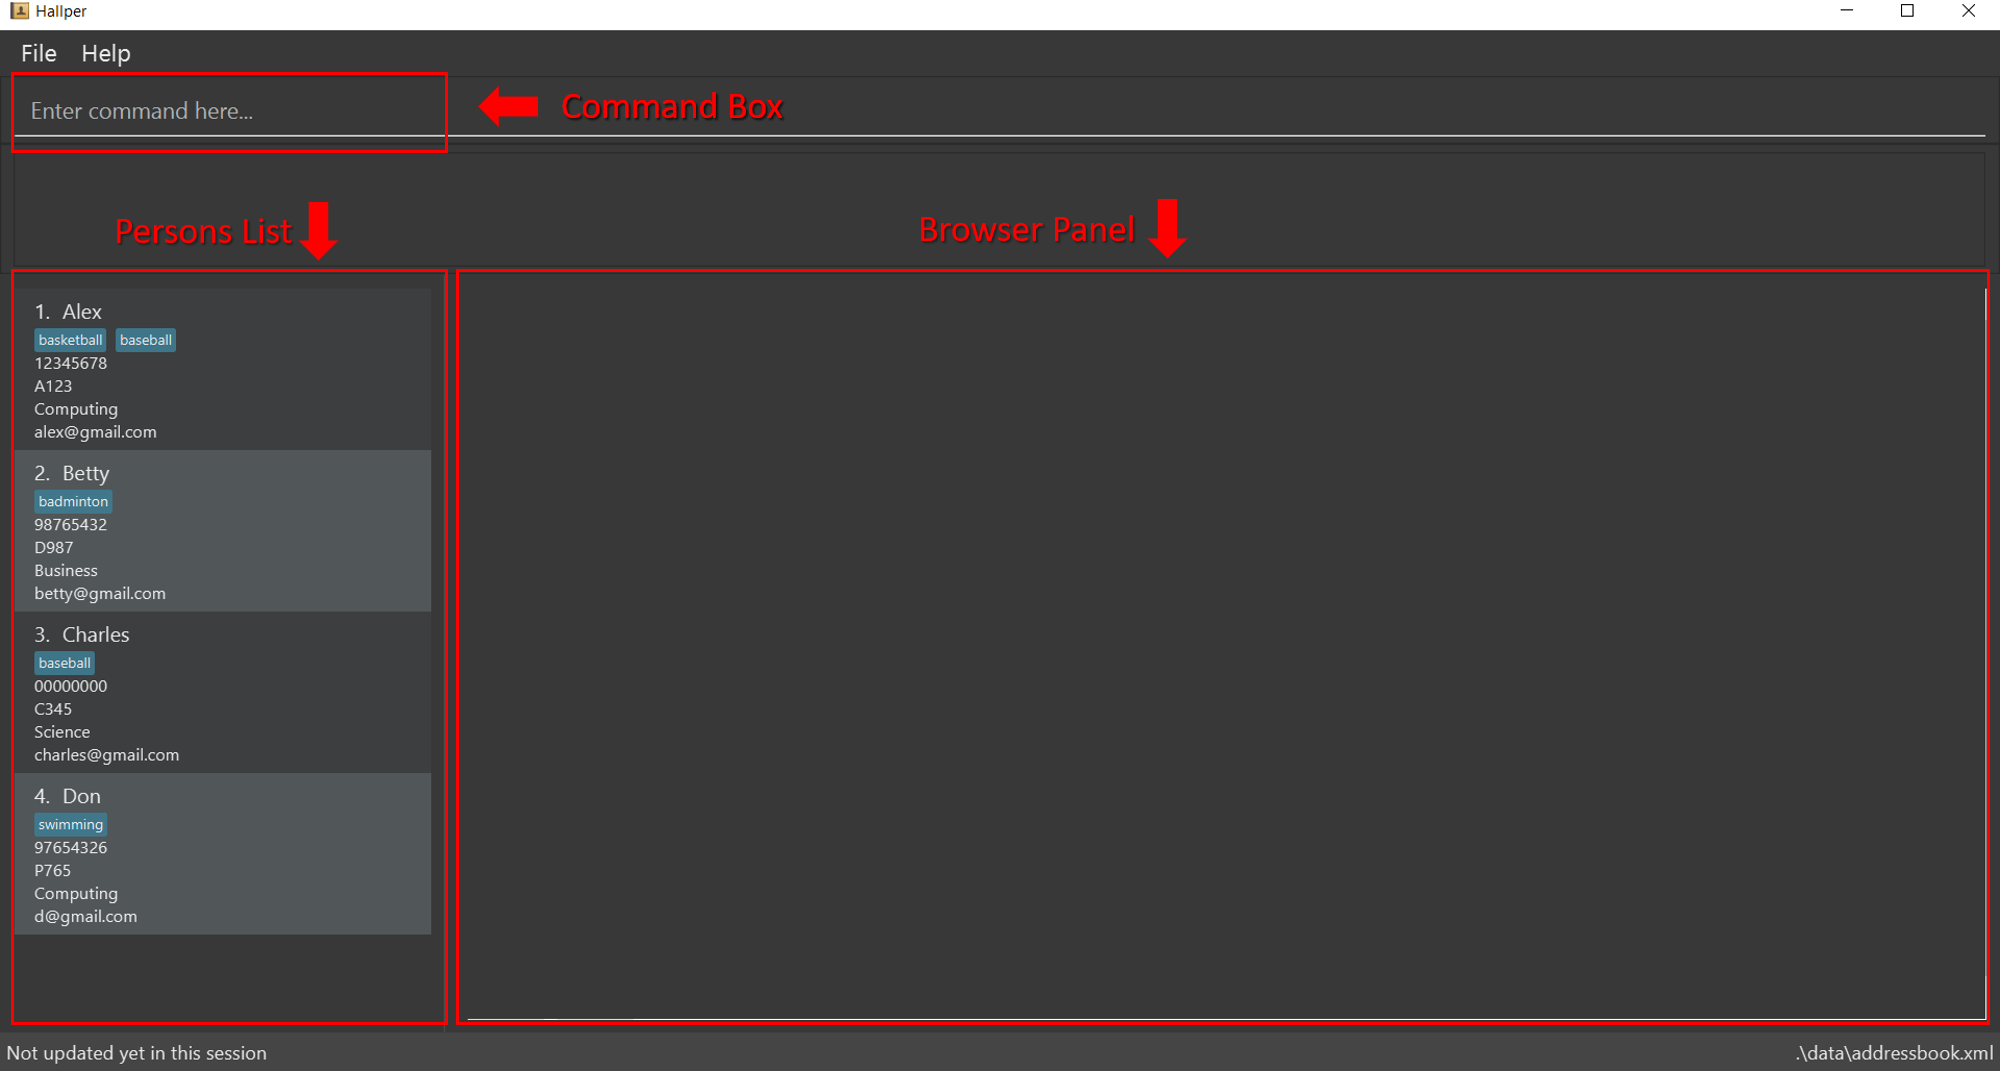
- Avoid annotations (arrows, callouts, explanatory text etc.); it should look like the product is in use for real.
Examples
Reason: Distracting annotations.

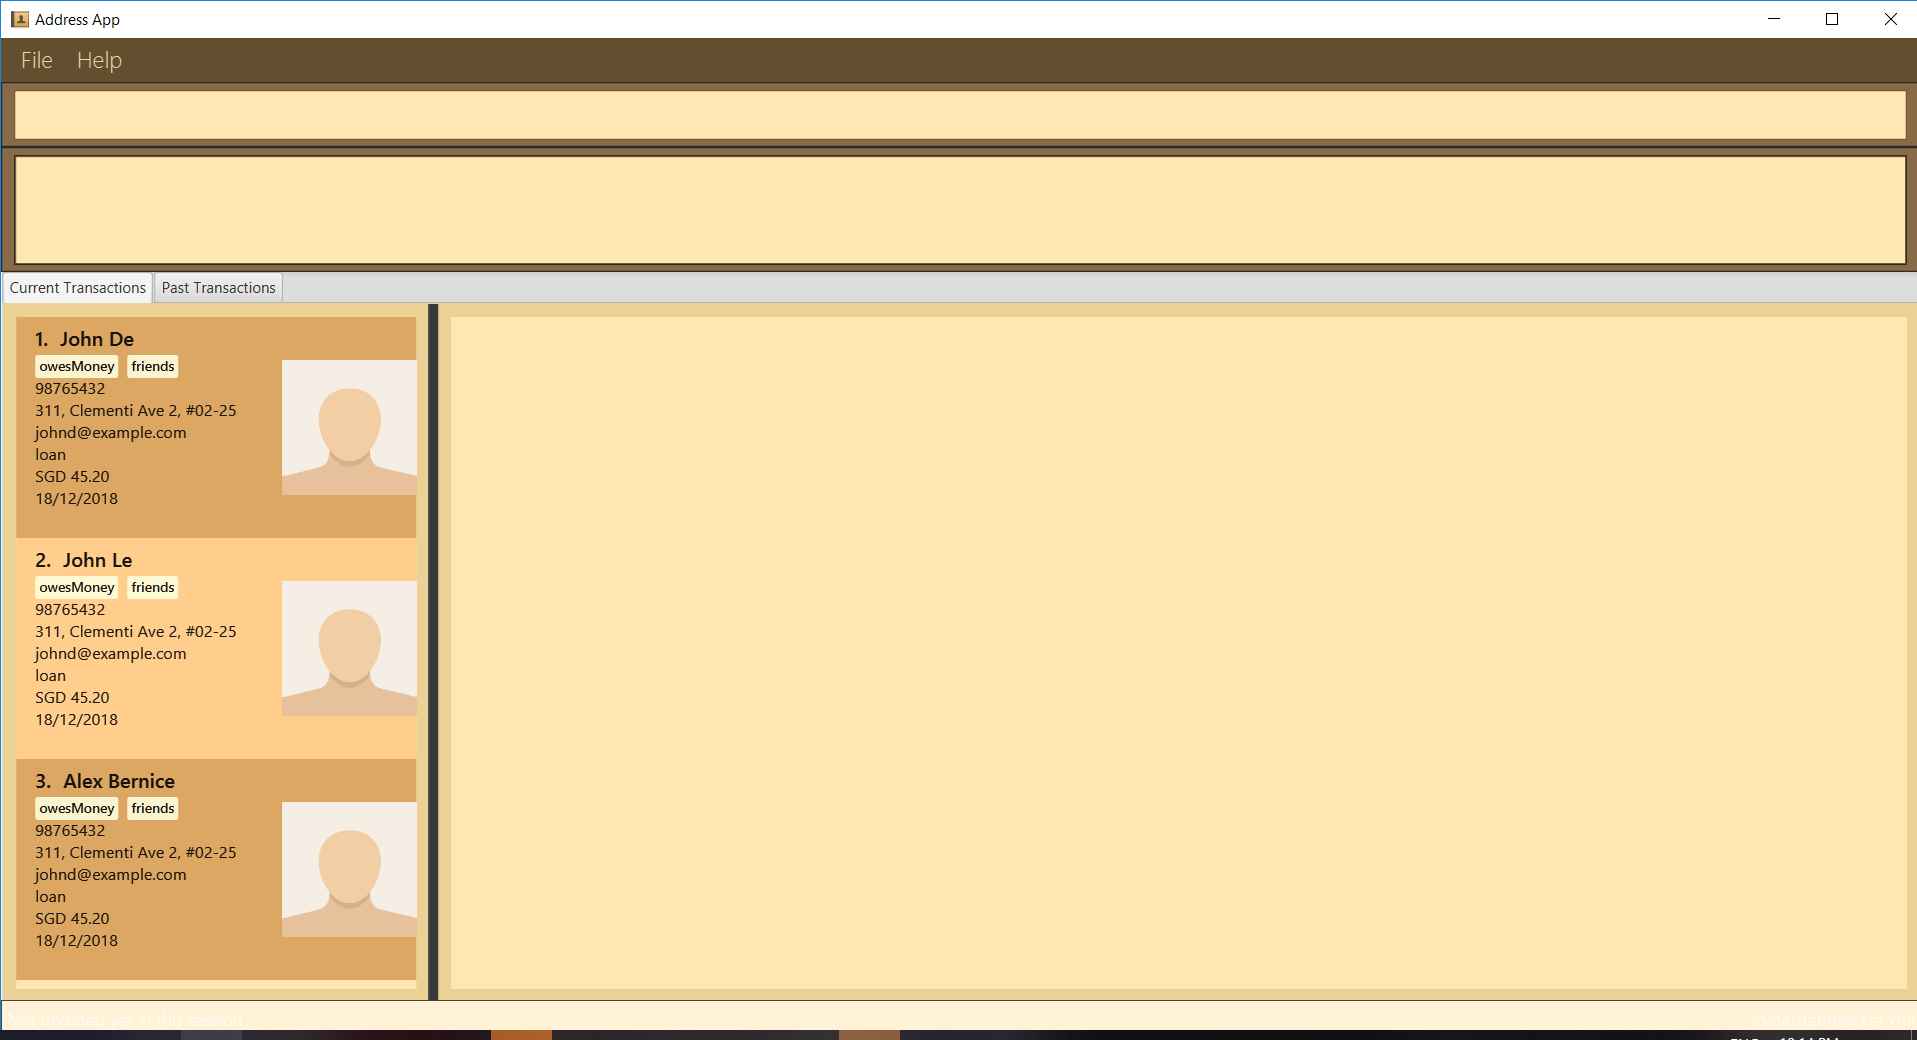
Reason: Not enough data. Should have used real profile pictures instead of placeholder images.

Reason: screenshot not cropped cleanly (contains extra background details)


- If you added the
Ui.pngcorrectly and set up the product website correctly, you should be able to see your screenshot in the iP Showcase page (a link to the iP Showcase page is also available in the top navigation menu → Links) and you should be able to access the image using the linkhttps://{your user name}.github.com/{repo name}/Ui.png(e.g.,https://johndoe.github.com/ip/Ui.png).
2 Submit the final version Sun, Feb 21st 2359
- Create a new jar file
- Create the JAR file using Gradle.
- The JAR file should be cross-platform and should work in a computer that has Java 11.
- Do the following smoke tests to ensure the jar file works (reason: a similar flow will be used when grading your iP).
- Copy the jar file to an empty folder and test it from there. This should surface issues with hard-coded file paths.
- Pass the jar file to team members and ask them to do a test drive. Assuming some of your team members' OS differ from yours, this should verify if the app is cross-platform.
- Create a new release on GitHub (e.g.,
v0.2) and upload the JAR file.- Recommended to refrain from uploading multiple JAR files as this can cause extra work for the evaluators.